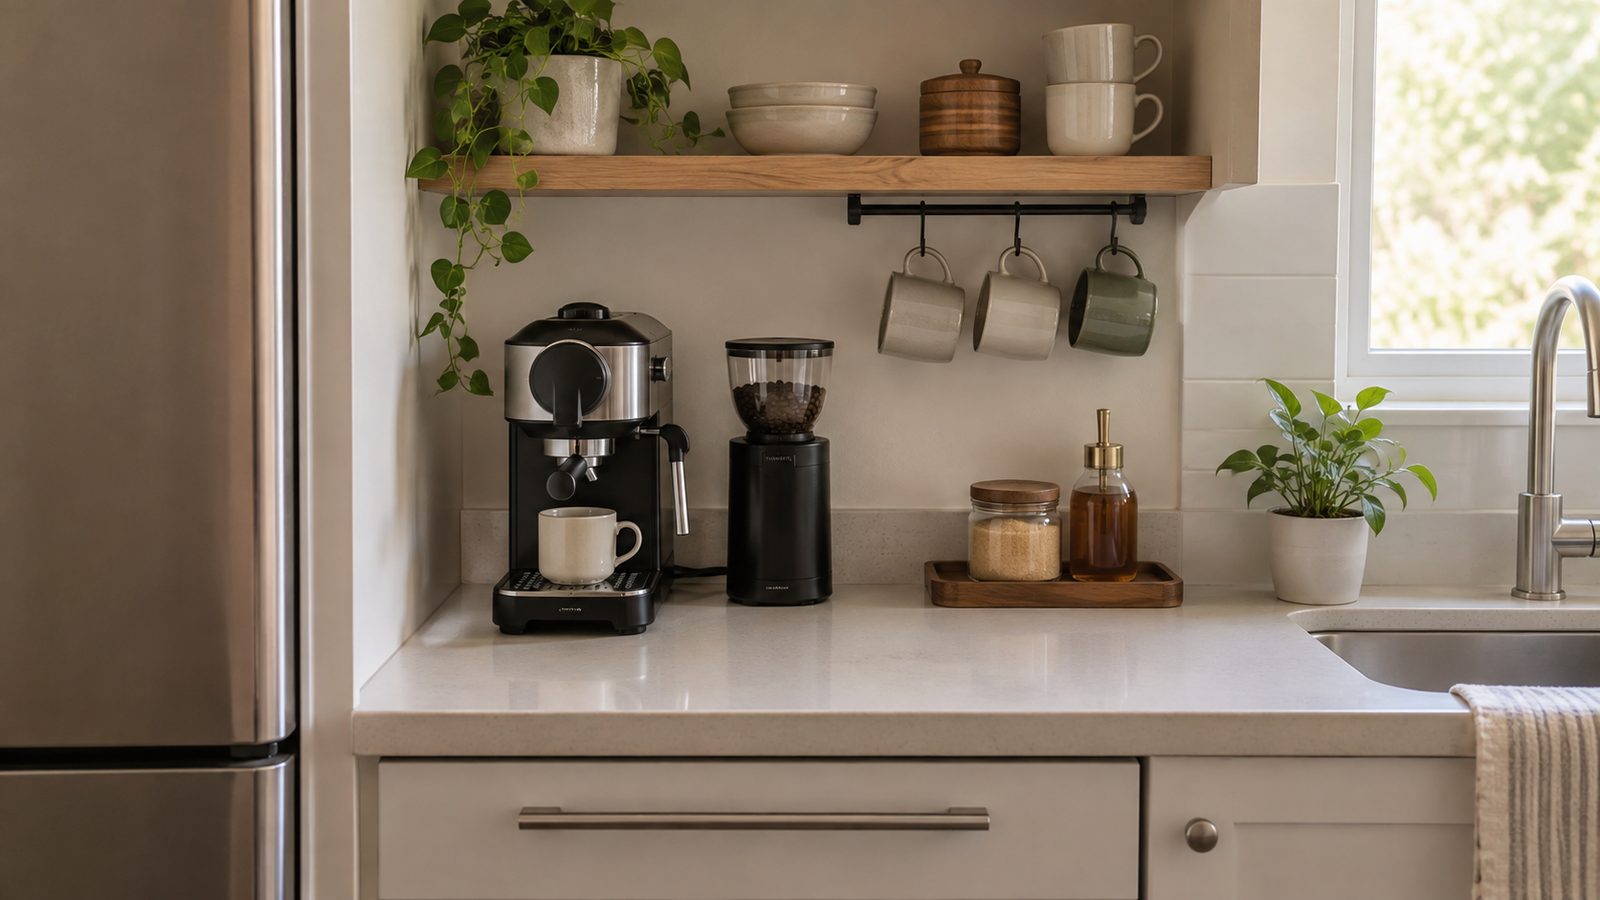
How to Organize a Small Coffee Station Without Clutter
A practical, step-by-step system for transforming cramped countertops, kitchen corners, and small coffee bars into calm, ergonomic brewing setups.
Introduction: The “Home Café” System vs. Kitchen Storage
A small coffee station or compact coffee bar gets cluttered quickly because the machine is only one part of the setup. Whether you are setting up a coffee station at home in a kitchen nook or organizing a small office coffee area, beans, pods, mugs, filters, grinders, syrups, cables, and cleaning tools all compete for limited counter space.
The secret to a clutter-free station isn’t buying more organizers; it is shifting from a generic storage mindset to a practical home café workflow.
By establishing clear physical boundaries, organizing around your specific brewing method, and maintaining a quick daily reset, you can transform even a 24-inch strip of counter space or a compact coffee bar into a calm, efficient brewing nook.
Step 1: Edit Before You Organize (The Fixed Physical Boundary)
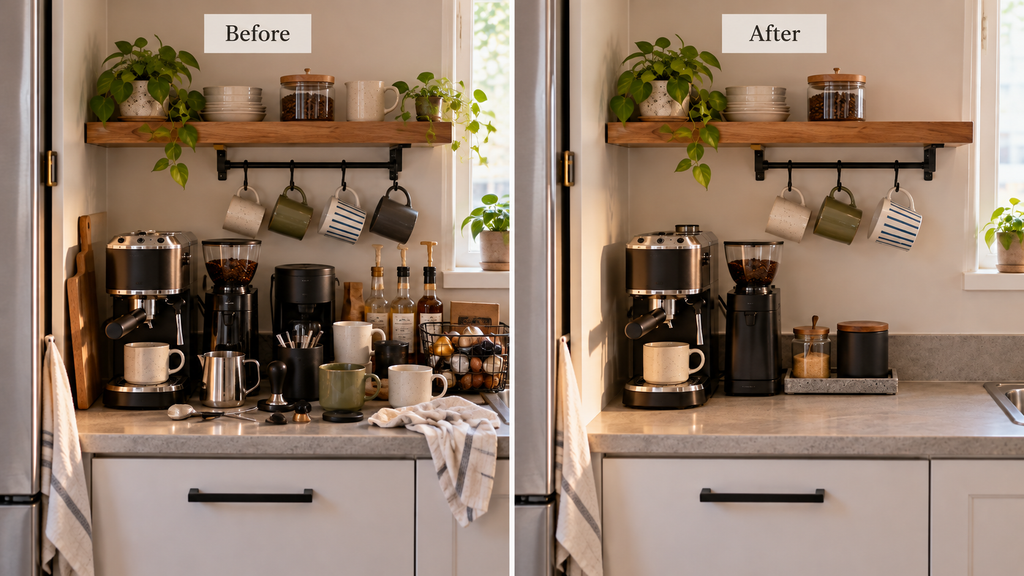
The biggest mistake in organizing a small coffee station is organizing clutter before reducing it. Buying a multi-tier coffee station organizer, wire rack, or tray before auditing your gear simply turns clutter into organized clutter.
The 4-Category Inventory Audit
Empty your entire coffee area and sort every item into four distinct categories:
- Daily Use: The machine, primary grinder, daily beans/pods, favorite 2–3 mugs, and immediate prep tools (tamper, spoon, or filter). These earn primary station real estate.
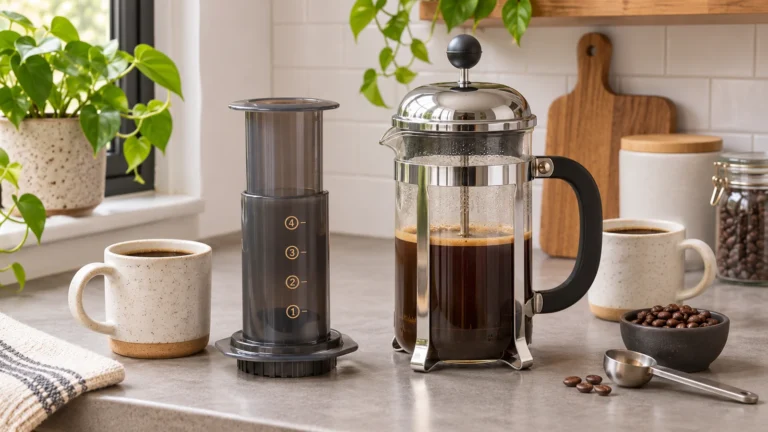
- Weekly / Occasional Use: Specialty beans, decaf pods, backup filters, seasonal syrups, and secondary brewers (French press, AeroPress). These move to upper cabinets or nearby drawers.
- Rarely Used: Duplicate travel mugs, novelty cups, extra frothing pitchers, and deep-cleaning descaling kits. These move to pantry storage or high cabinets.
- Never Used: Expired tea bags, broken accessories, and duplicate tools. Discard or donate immediately.
The Fixed Physical Boundary Principle
Assign your station a clear physical footprint—for example, a 24-inch wide counter section, a dedicated 10-inch tray, or a single rolling cart surface. Everything required for your daily brewing routine must fit within that defined boundary. If new gear becomes part of the station, something else may need to move out to keep the space balanced.
Step 2: Measure Your Coffee Station First

In a small coffee station, even small measurement errors can cause daily frustration. Before purchasing any organizers or placing heavy appliances, measure these spatial dimensions:
- Usable Counter Width & Depth: Know the exact footprint available for your machine and prep tools.
- Vertical Cabinet Clearance: Measure from the countertop to the underside of upper cabinets.
- Operating Height Clearance: Account for the extra height needed to open a top-loading bean hopper, lift a water reservoir lid, or raise a pod-machine lever.
- Machine Clearance & Ventilation: Check manufacturer guidance for required side, rear, and overhead clearance for ventilation, reservoir access, and cord routing.
- Drip Tray & Drawer Clearance: Ensure your machine’s drip tray or portafilter handle has room to slide out smoothly without hitting adjacent walls or appliances.
- Drawer Interior Dimensions: Measure internal width, depth, and height before buying pod or tool inserts.
- Wall & Vertical Space: Measure available wall area for floating shelves or mug rails, ensuring they don’t block machine operation.
- Outlet Proximity: Confirm distance to the nearest electrical socket so power cables lie flat without stretching across work zones.
Step 3: Build Around Your Brewing Workflow (Sequence-Based Proximity)
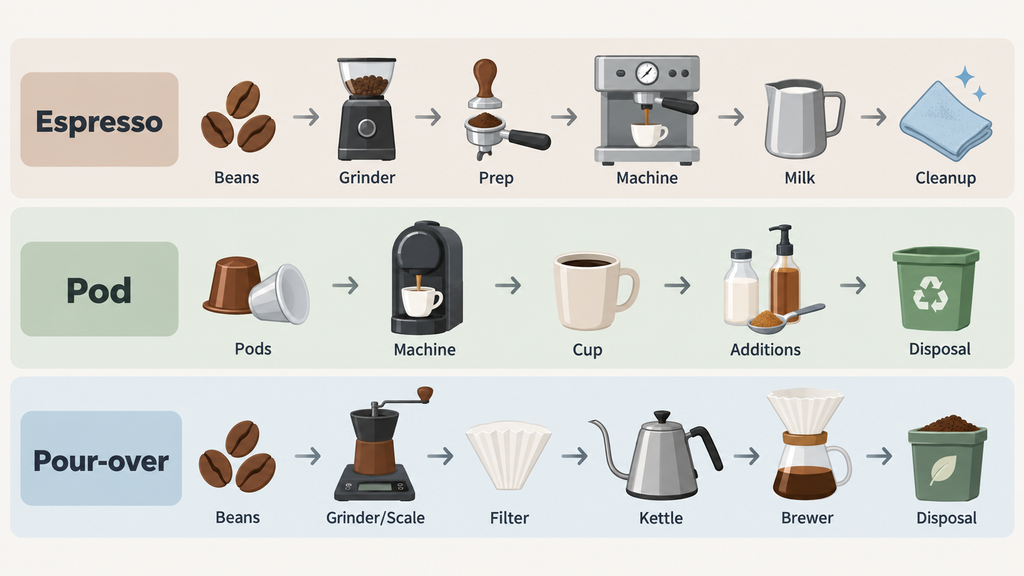
Professional baristas design workspaces around physical movement. Rather than forcing your equipment into a rigid straight line, structure your tools in sequence-based proximity—keeping consecutive brewing steps close together, whether arranged in a linear row, a corner L-shape, or a compact cluster.
Workflow by Brewing Method
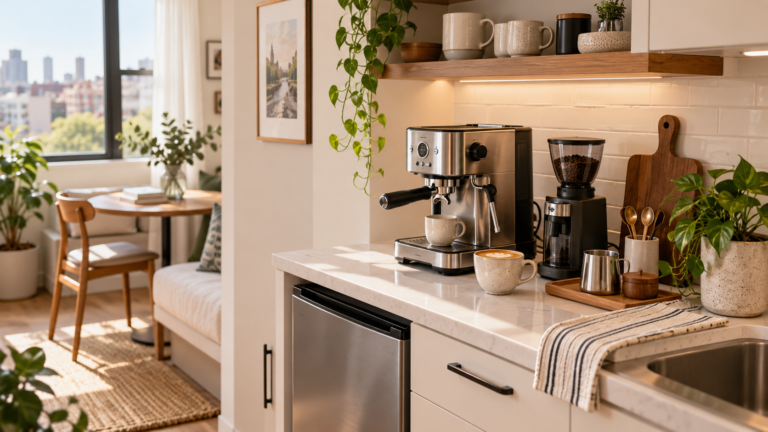
1. Espresso Machine Setup
- Sequence: Beans → Grind → Dose & Tamp → Brew → Steam Milk → Knock Out & Clean.
- Ergonomic Placement: Position your tamper, tamping mat, and knock box where you can use them comfortably without repeatedly reaching across the machine.
- Clean Prep Separation: Keep dry prep tools (beans, grinder, tamper, paper filters) separated from areas where water, milk frothing, or steam create splashes.
2. Pod Machine Setup (Nespresso / Keurig)
- Sequence: Pod Selection → Machine Insertion → Cup Placement → Brew → Syrup/Milk → Spent Pod Disposal.
- Zoning: Position your coffee pod holder or storage drawer directly beneath or beside the machine so you can select a pod without crossing the workspace. Keep mug storage and syrup pumps within arm’s reach of the cup landing pad.
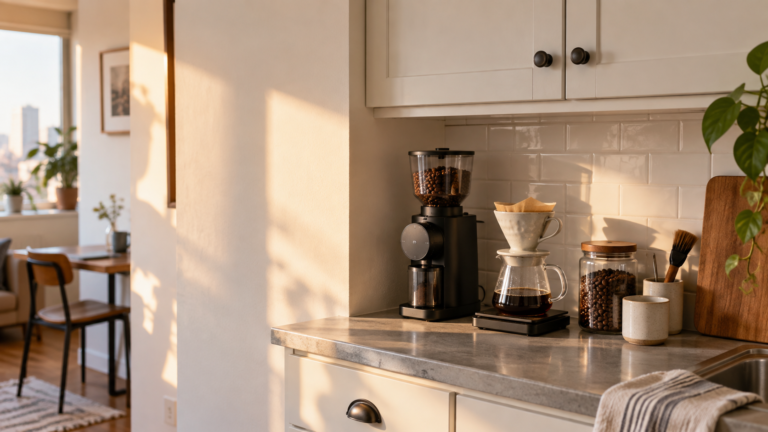
3. Pour-Over & Manual Brewing Setup
- Sequence: Beans → Scale & Grinder → Filter Prep → Kettle Heating → Water Pour → Spent Filter Disposal.
- Zoning: Position the scale and dripper centrally, with the gooseneck kettle directly beside its power base or outlet.
Step 4: Resolve Utilities & Practical Constraints
A functional coffee bar must respect basic practical requirements: power, water, and waste.
Power Access
Position coffee machines, kettles, and grinders close enough to a wall outlet that the appliance’s own cord reaches naturally without tension or extension cords. Never run power cables beneath water reservoirs or across active sink prep areas.
Water Proximity & Refill Access
If your machine features a rear water tank, ensure you have sufficient overhead clearance to pour water from a pitcher, or choose a setup located near the sink. For coffee carts or office nooks far from plumbing, store a dedicated, covered glass water carafe directly inside the station.
Waste Management
Keep a small knock box, spent-pod container, grounds compost bin, or mini trash bin directly adjacent to your station. Eliminating the need to walk across the kitchen with dripping portafilters or wet pods prevents counter splatters.
Stability on Mobile Carts
If using a narrow rolling utility cart, verify that your machine sits fully and stably on the shelf surface and that the cart can safely support its weight.
Step 5: Store Consumables & Small Items in Drawers

Retail packaging—boxes of K-Cups, Nespresso sleeves, and tea cartons—can take up considerably more space than the consumables themselves while adding visual clutter.
Drawer Inserts & Coffee Pod Storage
Utilize the top drawer directly beneath or adjacent to your coffee station for clean, accessible coffee pod storage:
- Nespresso Capsule Storage: Choose a tray that fits your drawer and capsule system. Original and Vertuo capsules differ in shape and size, so check compatibility before buying.
- K-Cup Storage: A shallow drawer insert can replace bulky boxes while keeping pods visible. Check pod height against the drawer’s usable clearance, including anything mounted above it.
- Keep Useful Packaging Information: Retain product names, relevant dates and disposal or recycling instructions when removing retail boxes. Store pods as their maker directs and arrange varieties so older stock is easy to use first.
- Tea Categorization: Sort tea bags by type (Morning Black, Afternoon Green, Evening Herbal) in divided bamboo organizers.
Accessory Micro-Zones
Reserve small drawer compartments for essential accessories: latte spoons, stirrers, paper filters, sugar packets, and digital scale cables.
Step 6: Expand Vertically Without Blocking Your Machine

When horizontal counter space is limited, vertical storage expands your capacity—provided it doesn’t interfere with daily operation.
Preserving Appliance Clearance
Before mounting floating shelves, mug rails, or pegboards, check the manufacturer’s required overhead clearance and open every lid, reservoir, and hopper fully to confirm comfortable access.
Elevating Mugs & Lightweight Gear
- Under-Cabinet Mug Hooks: Mounting sleek under cabinet mug hooks or a slide-in rail beneath upper cabinets suspends several daily cups directly above your station.
- Mug Shelves: A wall-mounted coffee mug shelf or coffee mug display shelf moves ceramics off the counter while keeping them visible and accessible. A floating shelf for mugs keeps daily drinkware within reach without using countertop prep space.
- Upper Wall Shelving: Reserve higher wall shelves exclusively for lightweight, non-perishable items: extra ceramics, paper filter holders, or manual pour-over drippers.
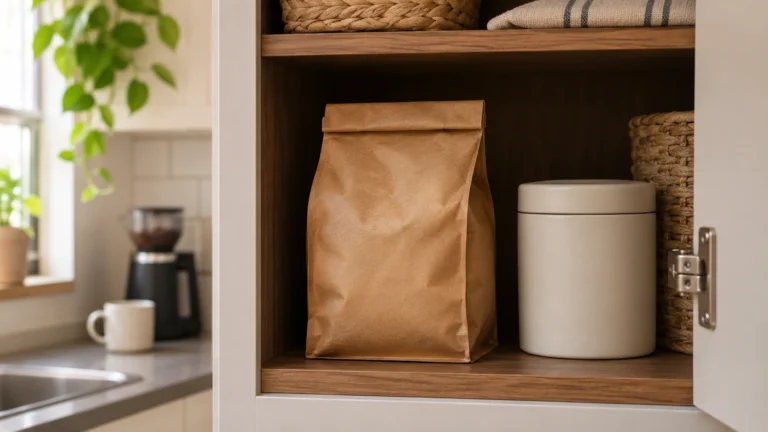
Bean Storage Freshness
For longer-lasting freshness, avoid leaving coffee beans in clear containers exposed to direct sunlight or heat. Store whole beans in airtight containers placed in a cool, shaded spot to preserve freshness and flavor.
Step 7: Contain & Corral the Few Items That Stay Visible
Items scattered loosely across a countertop look chaotic; grouped inside a physical boundary, they look intentional.
The Anchor Tray Method
Use a low-profile wooden tray, stone slab, or shallow mat to establish a clear boundary for countertop accessories.
- Daily Essentials Only: Place only your daily sugar bowl, spoon rest, and primary syrup bottle inside this tray.
- Visual Grouping: A single tray or mat makes several small items read as one organized group rather than scattered clutter.
Optional Syrup Decanting & Care
Decanting commercial syrups into matching glass pump bottles is optional. Before transferring a syrup, check its maker’s storage, refrigeration and opened-life instructions; a different bottle or pump does not extend that life or make refrigeration unnecessary. Keep the original product, allergen, lot and date information available. If suitable storage and dispenser hygiene are uncertain, keep the syrup in its original container. If you do decant, follow these care steps:
- Label bottles clearly with contents and dates.
- Wash and thoroughly dry dispensers between refills.
- Clean pump mechanisms regularly according to the dispenser’s care instructions, especially if sugar begins to crystallize around the pump.
Step 8: Manage Cords, Steam, and Cleaning Cloths
Long-term clutter control requires proactive management of cables, steam, and spills.
Cable Routing
Route excess appliance cords neatly behind or beside the machine using adhesive cable clips or cord organizers, avoiding sharp bends, pinching, or contact with heat-producing surfaces.
Steam & Surface Protection
Repeated heat and moisture exposure can affect cabinet finishes over time. Follow manufacturer clearance guidance and position kettles or espresso machines so steam is not directed continuously at the underside of upper cabinets.
Cleaning Cloths & Drying
Don’t leave a damp microfiber cloth stuffed behind the machine or inside a closed drawer, as damp spaces encourage odor and microbial growth. Instead, keep a dedicated microfiber cloth nearby and hang or spread it over a rail to dry completely between uses.
Step 9: Tuck Away or Conceal Equipment When Possible
For very small apartments or readers who prefer clearer countertops, sliding trays can reclaim workspace while appliance garages or pocket cabinets can hide equipment completely.
Reclaiming Counter Depth vs. Full Concealment
- Sliding Appliance Trays (Depth Reclamation): Use a tray only if the tray and appliance instructions permit the intended setup. Check load capacity, a stable and level worktop, resistance to movement during use, heat and spill suitability, and safe cord routing. A tray is not automatically suitable for portafilter forces or hot equipment. Position equipment before use, and move it afterward only as the appliance’s instructions allow.
- Appliance Garages & Pocket Cabinets (Full Concealment): These can conceal stored equipment, but ventilation or open doors alone do not make enclosed operation acceptable. Operate an appliance in cabinetry only if the exact appliance and installation instructions permit it and all required clearances are met. Otherwise, use an approved open work surface and let equipment cool, then clean and dry it as required before storage.
Step 10: Create a 2-Minute Daily Reset Routine
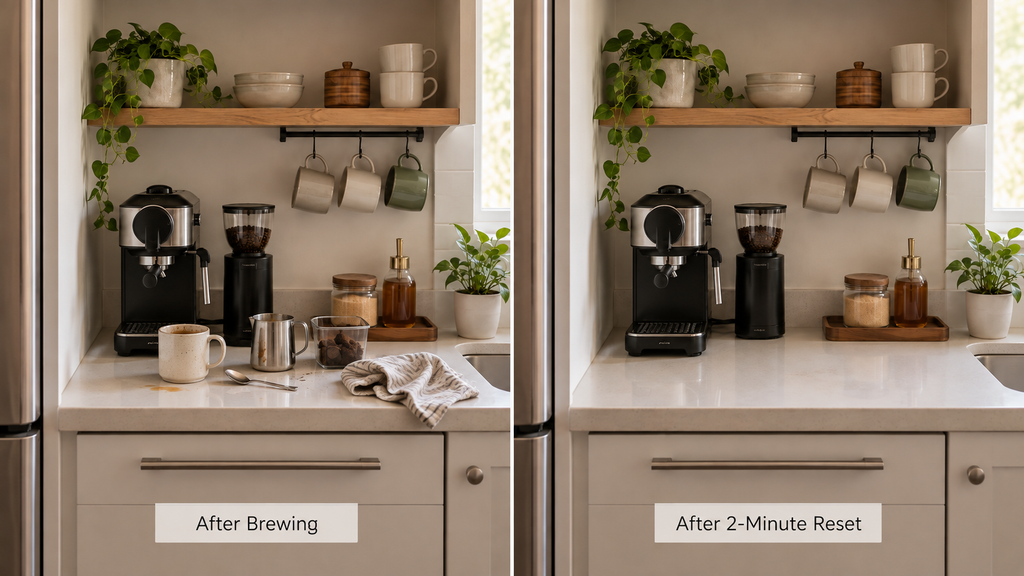
An organization system only works if the space easily returns to its starting state. Incorporate this rapid 2-Minute Reset immediately after brewing: For an espresso setup, use our model-specific cleanup guide to distinguish after-use tasks from periodic maintenance.
- Discard: Empty spent coffee grounds into the knock box or toss used pods/filters into the waste bin.
- Rinse & Wipe: Rinse used brewing and milk tools as needed, then wipe down the machine and counter with your dedicated microfiber cloth.
- Return: Place stirrers, spoons, and tampers back into their designated drawer compartments or tray.
- Replenish: Refill the water reservoir and restock beans, pods, or filters as needed for the next brew.
- Clear: Confirm that only designated daily items remain inside the anchor tray boundary.
Conclusion: Sustainable Small-Space Morning Rituals
Organizing a small coffee station or compact coffee bar without clutter isn’t about expensive renovations or endless storage gadgets. It comes down to defined spatial boundaries, accurate measurements, intuitive workflow zoning, and a quick daily reset habit.
Your 3-Step Action Plan to Start Today
- Edit: Audit your current setup and remove everything you don’t use every single day.
- Contain: Move pods, filters, tea, sweeteners, and small accessories off the counter into the nearest suitable drawer or cabinet.
- Boundary: Establish a single anchor tray or fixed footprint for remaining daily tools—and keep everything else clear.