Pour-Over Coffee in a Small Kitchen: A Simple Setup and Cleanup Routine
You don't need a dedicated coffee corner to make pour-over. A dripper can sit on a mug while you brew, then go back in a cupboard when the counter is needed for breakfast. The trick is to plan two places before you begin: a stable spot to pour and a safe place to set the dripper afterward.
A practical starting point: With a Hario V60 Size 02 and matching Size 02 paper filter, Hario's Expert V60 Brew Guide uses 15 g of filter-ground coffee and a 250 g water target. That measured version needs a scale; a simpler, approximate alternative is possible without one.
What you need—and what you can skip
For a basic setup, gather a V60 Size 02 dripper, its matching Size 02 paper filter, a stable heat-safe mug or server, a kettle, and coffee ground for filter brewing. Check that the dripper sits securely on your mug and that the mug has enough capacity and headroom for the coffee you expect to collect.
If you're keeping equipment to a minimum: Use pre-ground coffee and a standard kettle. Hario's Basic V60 Brew Guide shows a scoop-based method without a scale. Scoop measures are approximate; they don't establish a precise 15 g dose or a measured 250 g pour.
If you want a more repeatable cup: Add a kitchen scale to weigh your coffee and brewing water. A grinder and a narrow-spout kettle can make adjustments and controlled pouring easier, but neither is required to start. Keep the tools that genuinely improve your routine, not simply the ones that look good on a coffee cart.
Set up a safe brewing spot on your counter
Clear only the surface needed for the mug, dripper and scale, if you're using one. Put the kettle where you can lift and pour it without reaching across food, loose cords or the edge of the counter. Check that the mug and dripper remain stable together; avoid an arrangement that can tip when water is added.
Before heating water, choose a heat-safe place for the dripper to rest after brewing. In a small kitchen, that landing spot can be more useful than a permanent rack. Keep a dish towel or drying area available for later, once the equipment is safe to handle.
A simple pour-over recipe for one mug
This is a one-cup starting method based on Hario UK's Expert V60 guide, not a claim that every coffee or dripper works best with the same settings.
For the measured method: Use a V60 Size 02 with its matching filter, 15 g medium-fine ground coffee, and 250 g of brewing water at approximately 92–96°C. Heat a little additional water to rinse the filter and warm the mug. Hario suggests roughly 2½ minutes for the brewing process; treat that as a starting reference, not a pass/fail timer.
- Fit and rinse the filter. Fold the paper's crimped seam, place it in the V60, and rest the dripper securely on the mug. Wet the paper with hot water, then carefully discard that rinse water from the mug.
- Add the coffee and reset the scale. Put 15 g of medium-fine grounds in the filter. Set the mug and dripper on the scale and tare it after the coffee is in place. The display will now count the mass of water you add.
- Wet the grounds. Start a timer and pour just enough hot water to wet all the coffee. Allow about 30 seconds for the bloom. You do not need to measure a separate bloom-water amount for this Hario-based starting method.
- Complete the pour. Add water gradually in gentle circles, avoiding direct pouring onto the paper edges. Stop when the scale shows 250 g of added brewing water. Let the coffee drain into the mug.
- Finish safely. Once dripping has stopped, handle the hot dripper carefully. If necessary, set it on a stable, heat-safe surface; let the equipment and spent filter cool enough to handle before disposal and washing.
Why tare after adding coffee? Hario's published Expert steps tare before the grounds go into the filter, but also give a 250 g scale target. Re-taring after adding the grounds is an editorial measurement clarification: it makes that 250 g display refer to water added, rather than coffee plus water. The filter-rinse water is separate and should already have been discarded. The mass of the finished drink will not necessarily equal the mass of water poured.
If you don't have a scale, use the approximate process in Hario's Basic V60 guide. A scoop and visual judgment can help you get started, but they cannot reproduce the measured recipe exactly.
What to adjust on your next cup
Start by keeping the coffee dose, water amount and pouring approach reasonably consistent. If the drink seems weak and the water drains much faster than expected, try a slightly finer grind next time. If drainage is unusually slow, a slightly coarser grind may help. Hario offers these grind adjustments in its Expert guide.
Neither brew time nor taste identifies a single cause. Coffee, filter and pouring differences can all affect the result. Change one variable at a time so you know what actually improved your next cup.
The four-stage cleanup routine for a small kitchen

View the four workflow panels up close
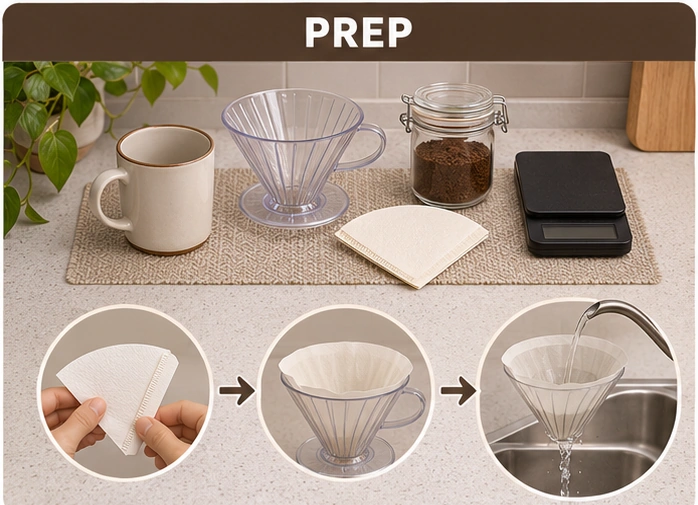
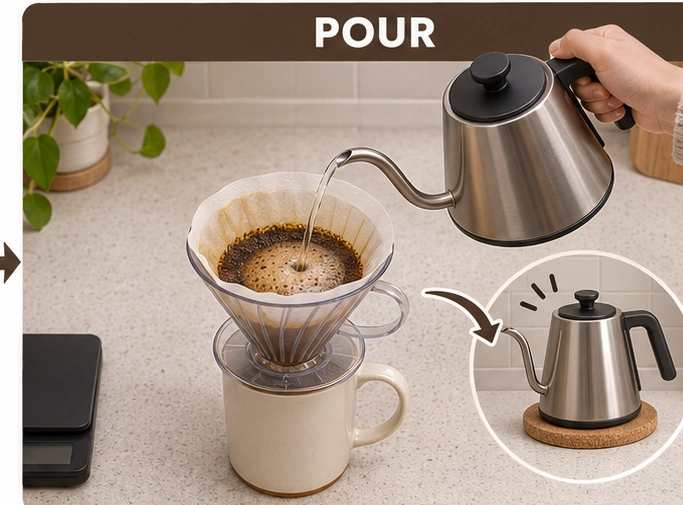


Text alternative to V02: Four stages show the items temporarily occupying a small brewing area and how that area is cleared after one cup.
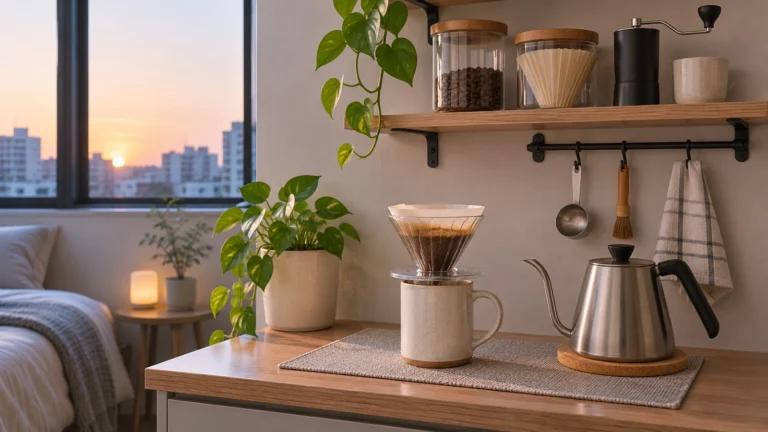
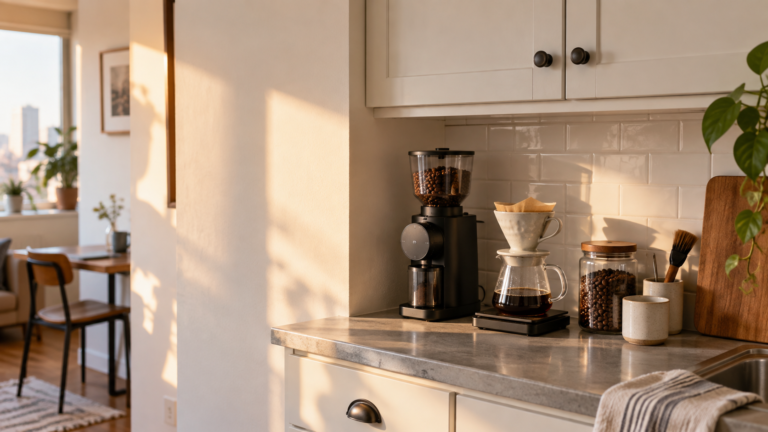
- Prep: Bring out the mug, dripper, matching filter and coffee. Use the scale only if needed. Rinse the paper, discard the rinse water, and leave the kettle in a stable position.
- Pour: Keep the mug and dripper in their safe brewing spot. Bring the kettle over for a controlled pour, then return it to its safe resting place.
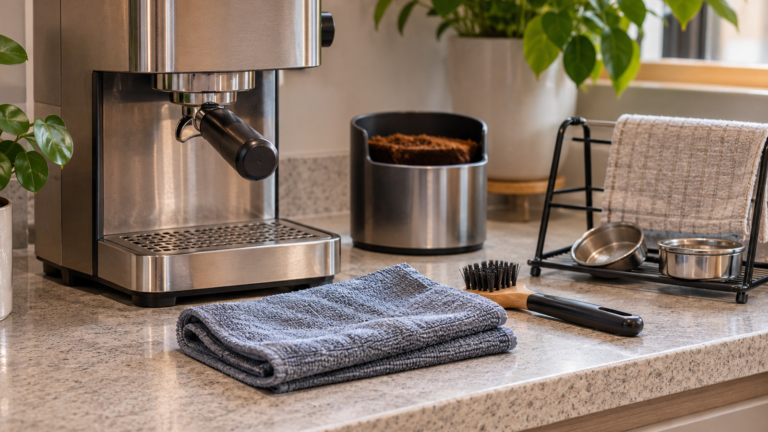
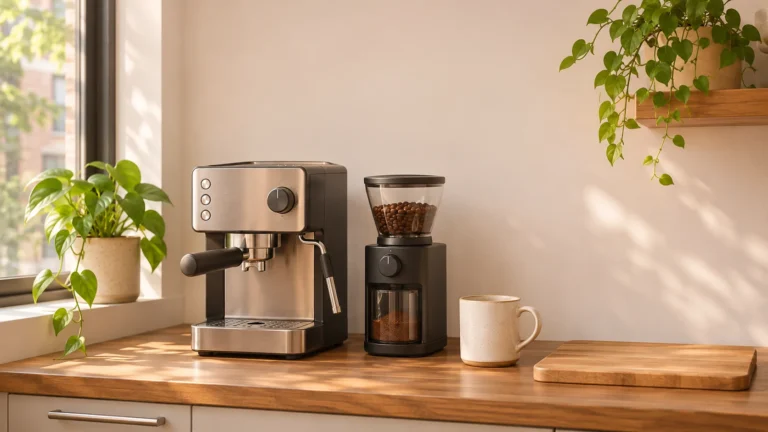
- Discard and rinse: After brewing, move the dripper carefully to the designated heat-safe spot if needed. Allow hot parts and grounds to cool enough for safe handling. Remove the filter and grounds according to local waste rules, then wash the brewer and mug as their manufacturers direct.
- Dry and stow: Let the washed equipment dry on a towel or rack. Once dry, put the kit away or leave it neatly ready where it won't interfere with cooking or other kitchen tasks.
The National Coffee Association's pour-over guide advises cleaning the brewer and serving vessel after use, while following the instructions for the specific equipment. Compost or municipal organics rules for used filters and grounds vary by location; check your local guidance rather than assuming every paper filter belongs in the same bin.
Keep it ready, or pack it away?
If you make pour-over regularly and have a safe corner that isn't needed for food preparation, keeping the dry dripper and filters within reach may be worth the space. A small tray can help define that ready-to-brew area.
If the same counter is used for chopping, dishes or meals, putting the dry kit in a drawer or cupboard may be the better tradeoff. You regain the working surface between cups, but you'll retrieve the equipment next time. Neither arrangement is universally better: choose the one that keeps both your coffee routine and your kitchen usable.
A good small-kitchen setup has a simple finish: the coffee is in your mug, the hot dripper has a safe place to cool, and the counter is available for whatever comes next.
Sources for the brewing and care guidance
- Hario UK — Expert V60 Brew Guide: V60 Size 02 setup, measured one-cup starting method, grind adjustment and approximate timing.
- Hario UK — Basic V60 Brew Guide: lower-equipment, approximate scoop-based alternative.
- National Coffee Association — Pour-over coffee: equipment compatibility, variable adjustment, and general cleaning guidance.